
Local. Family Owned. Trusted.
Gutter Installation & Protection Services
Eliminate the hassle of gutter cleaning with our expert installation services and innovative leaf protection solutions.
Our Services How Can We Help You?
We offer seamless gutter installations designed to optimize water flow and eliminate the risk of clogs. We also provide expert repair services to address any existing gutter problems efficiently. Our comprehensive gutter maintenance includes meticulous cleaning and advanced leaf protection solutions, ensuring year-round worry-free drainage. Contact us today and let us keep your gutters flowing freely so you can focus on more important things.
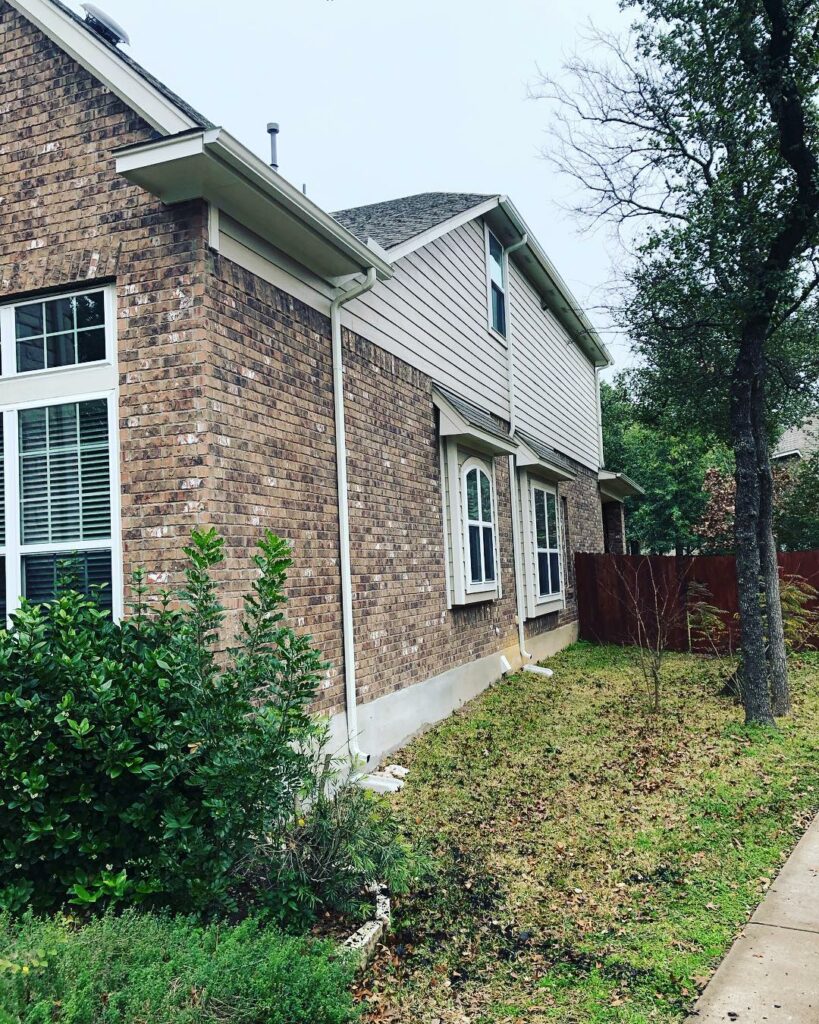
Gutter Installation
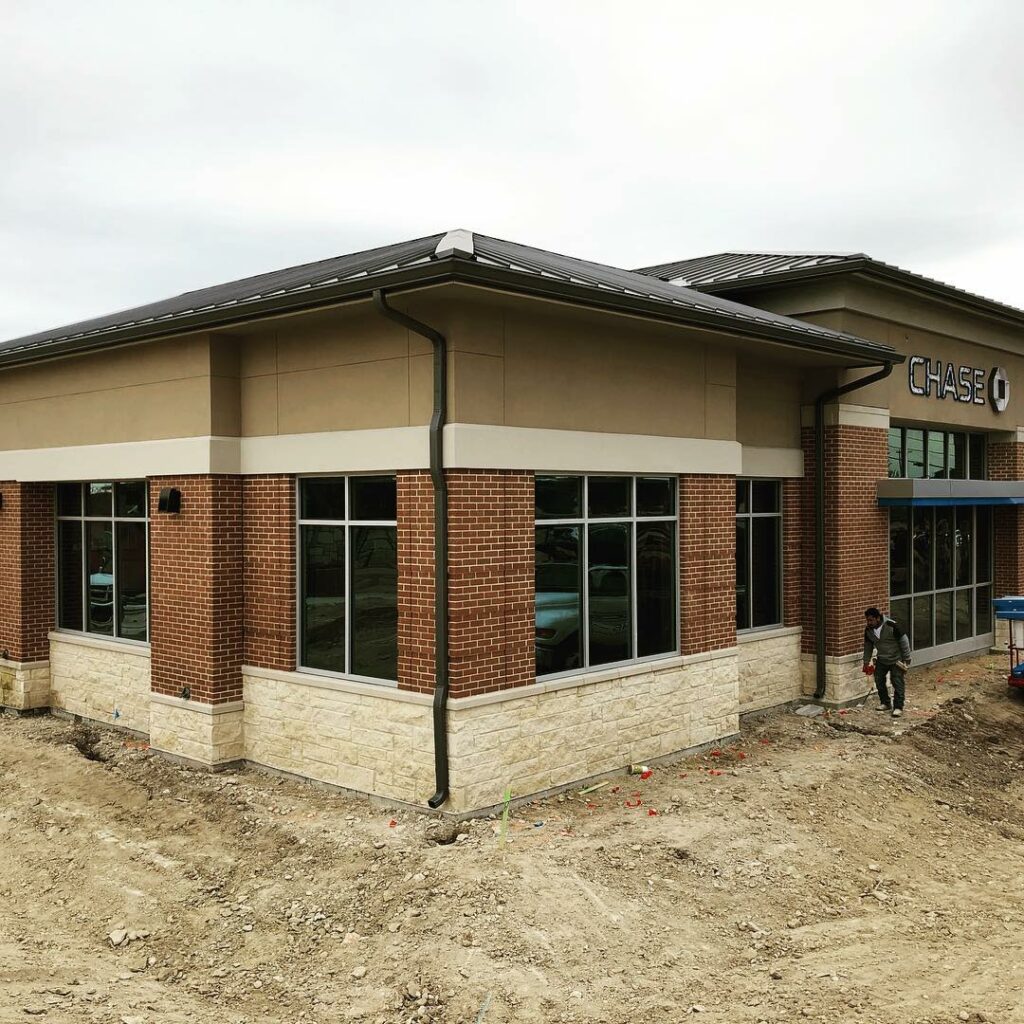
Gutter Installation
Our experts create custom-made seamless gutters for a perfect fit, ensuring efficient water flow that protects your foundation and siding.
Gutter Repair/Replacement
Gutter Repair/Replacement
Don't let minor gutter issues lead to major problems. We repair leaky gutters, loose hangers, and minor damage to keep your drainage system functioning optimally.
Gutter Cleaning
Gutter Cleaning
Avoid the hassle and dangers of DIY cleaning. Our professional service safely removes leaves, debris, and blockages to maintain optimal water flow and prevent damage to your foundation.
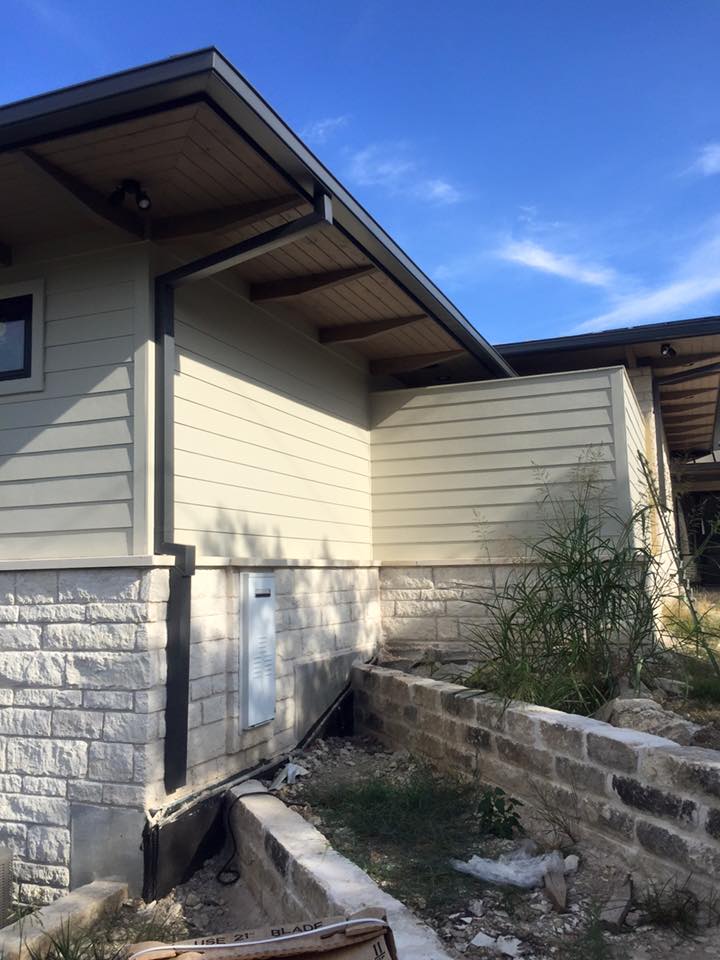
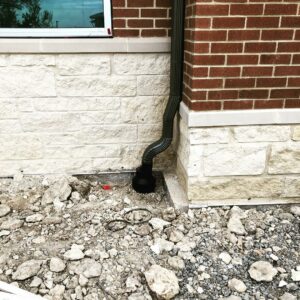
Seamless Gutters
Seamless Gutters
Our seamless gutters are crafted on-site to perfectly fit the exact dimensions of your roof, eliminating leaks and ensuring optimal water flow for years to come.
Gutter Guards
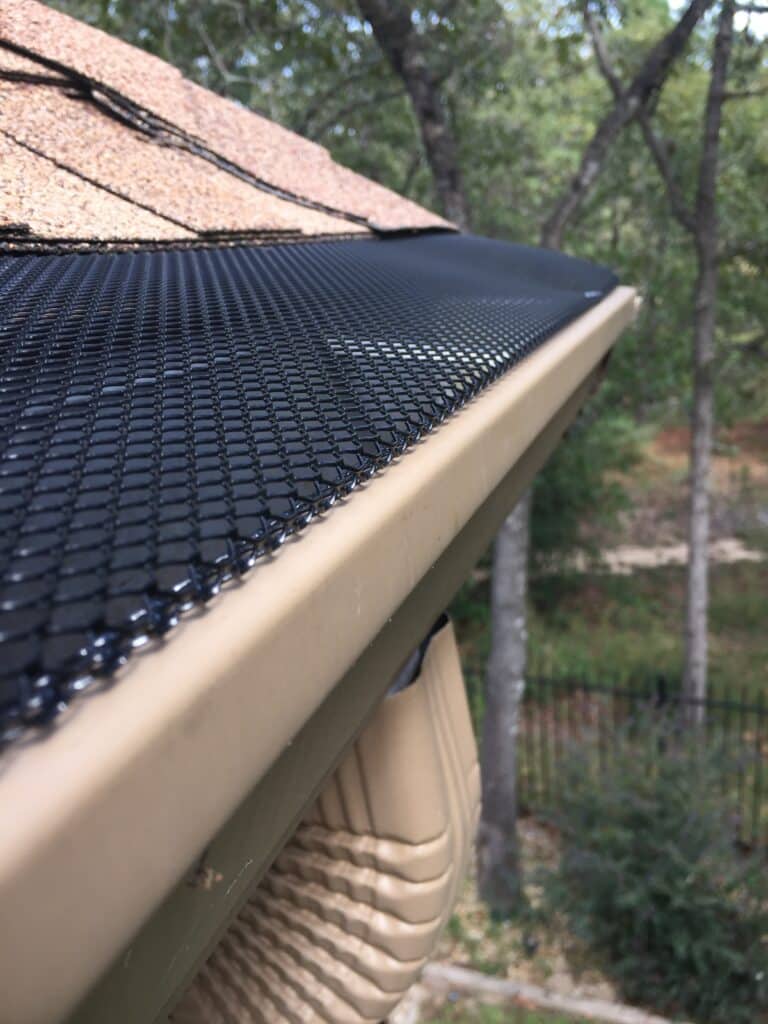
Gutter Guards
Prevent leaves and debris from clogging your gutters with our easy-to-install, long-lasting gutter guards.

Protecting Your Home from the Elements
Premium Gutters Inc. has you covered
For over nine years, Premium Gutters Inc. has been the trusted choice for homeowners in need of expert gutter services. Our dedicated team offers a wealth of combined experience to handle all your gutter needs, from installations and repairs to cleaning and maintenance.
Peace of Mind with a Seamless Gutter System:
- Prevent leaks and seepage: Our seamless gutter systems efficiently channel rainwater away from your roof, preventing leaks that can damage your roof, walls, and foundation.
- Stop mold growth: By eliminating moisture buildup around your home, we help prevent the growth of mold and mildew, which can pose health risks and lead to property damage.
- Keep pests away: Standing water attracts pests like mosquitoes and termites. Our gutters ensure proper water drainage, discouraging unwanted visitors.
- Protect your foundation: Unchecked water flow can erode the soil around your foundation, potentially causing cracks and structural problems. Gutters safeguard your foundation’s integrity.
Safe Inspection, Lasting Results
Premium Gutters Inc. can help
Don’t risk your safety with DIY gutter cleaning. Premium Seamless Gutters Inc. has the equipment and expertise to handle the job safely and efficiently. Our detailed inspection goes beyond just checking for leaves and debris. We also identify cracks, holes, and other potential problems that could lead to future clogs or damage. This thorough approach ensures we address any underlying issues before they become bigger problems.
Want the Best? Work with the Best!
Schedule your free consultation today and experience the Premium Gutters Inc. difference!

Why Choose Gutter Services By Premium Gutters Inc.?
Premium Gutters Inc. has you covered
Peace of Mind with a Seamless Gutter System:
We’re committed to providing exceptional value to our customers. Throughout the year, we offer special discounts and promotions to make our services even more affordable. We also ensure our pricing remains competitive in the market.
Customer Satisfaction Guaranteed:
Your complete satisfaction is our top priority. Our dedicated team is committed to exceeding your expectations, from the initial consultation to project completion. We value your feedback and use it to continuously improve our services.
From Clogged Gutters to Worry-Free
Our 4-Step Process
1
Schedule Your Service
Schedule your gutter service online in minutes or call us to book a free consultation. We’ll work with your schedule to find a convenient time.
2
Thorough Inspection
Our gutter specialists will visit your property for a detailed inspection. They’ll identify existing issues and potential problems to prevent future water damage.
3
Clear Plan & Upfront Quote
Based on the inspection, we’ll recommend a customized plan with clear explanations of each service and the materials used. You’ll receive a transparent quote before proceeding.
4
Expert Completion & Guarantee
Our experienced technicians will efficiently complete your chosen solution according to industry standards. We guarantee the quality of our work and your satisfaction with a flawless gutter system.
Get a Free Gutter Service Quote Now & Reclaim Your Peace of Mind!
Don’t let gutter problems ruin your day! We are your trusted local gutter company in Austin, TX, and surrounding areas offering expert cleaning, repair, replacement, and guard installation services. Get a free quote today and experience the difference of working with a local company that prioritizes your needs.